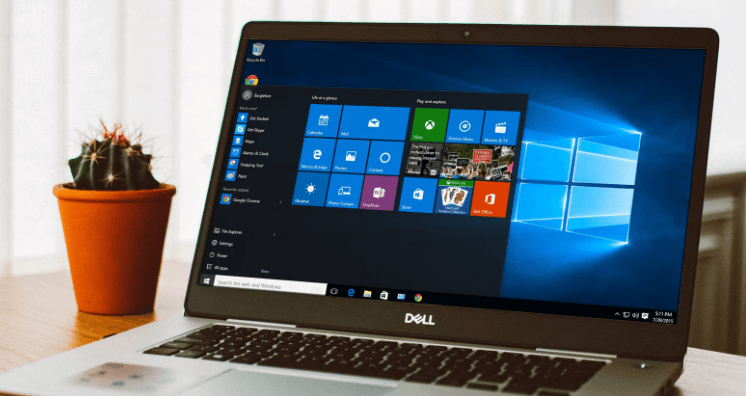
Taking screenshots is an essential skill for many computer users, whether for work, study, or personal use. If you own a Dell laptop or desktop computer, knowing how to capture your screen can be particularly useful. This guide will walk you through various methods to take screenshot on Dell devices, providing detailed steps for each method.
Why Take Screenshots?
Screenshots can serve multiple purposes. They are useful for capturing important information, troubleshooting technical issues, sharing content with friends or colleagues, and documenting processes or steps. Whether you need to save an image from the web, capture a software error message, or create tutorials, screenshots are an invaluable tool.
Built-in Methods for Taking Screenshots
Using the Print Screen Key (PrtScn)
The Print Screen key is the most common way to take a screenshot on any Windows-based computer, including Dell laptops and desktops.
Full-Screen Capture
- Locate the PrtScn Key: On Dell keyboards, the Print Screen key is usually labeled as “PrtScn” or “PrtSc”.
- Capture the Screen: Press the PrtScn key. This captures the entire screen and copies it to the clipboard.
- Paste the Screenshot: Open an image editing tool like Microsoft Paint or a document editor like Microsoft Word. Press “Ctrl + V” to paste the screenshot.
- Save the File: Save the image or document with a suitable name and location.
Active Window Capture
- Select the Window: Click on the window you want to capture to make it active.
- Use Alt + PrtScn: Press “Alt + PrtScn”. This captures only the active window.
- Paste and Save: Paste the screenshot into an image editor or document and save it.
Using Windows Snipping Tool
The Snipping Tool is a built-in Windows application that provides more flexibility than the PrtScn key.
- Open Snipping Tool: Search for “Snipping Tool” in the Start menu and open it.
- Choose Snip Type: Click “New” and choose from Free-form, Rectangular, Window, or Full-screen Snip.
- Capture and Edit: Capture the desired area. You can edit the screenshot within the tool.
- Save the Snip: Save the screenshot using the Save icon or by pressing “Ctrl + S”.
Using Snip & Sketch
Snip & Sketch is an upgraded version of the Snipping Tool available on newer versions of Windows.
- Launch Snip & Sketch: Press “Windows + Shift + S”. The screen will dim, and a small menu will appear at the top.
- Select Snip Mode: Choose from Rectangular Snip, Freeform Snip, Window Snip, or Fullscreen Snip.
- Capture and Edit: The screenshot will be copied to the clipboard. A notification will appear, allowing you to edit and save the screenshot in the Snip & Sketch app.
Advanced Methods for Taking Screenshots
Using Third-Party Software
Several third-party applications provide advanced screenshot functionalities, such as annotation, editing, and sharing options.
Lightshot
Lightshot is a popular free tool for taking customizable screenshots.
- Install Lightshot: Download and install Lightshot from the official website.
- Capture Screen: Press the Lightshot hotkey (usually “PrtScn”). Drag to select the area you want to capture.
- Edit and Save: Edit the screenshot using Lightshot’s built-in tools and save it to your computer.
Greenshot
Greenshot is another powerful screenshot tool with extensive features.
- Download Greenshot: Install Greenshot from its official website.
- Configure Settings: Open Greenshot and configure your preferences.
- Capture and Edit: Use the designated hotkey (default is “PrtScn”) to capture the screen. Edit the screenshot in Greenshot’s editor and save or share it.
Tips for Taking Better Screenshots
Ensure High-Quality Images
- Resolution: Capture screenshots at the highest resolution possible to ensure clarity.
- Lighting: Adjust your screen brightness and contrast for better visibility.
Use Annotation Tools
- Highlight Important Areas: Use tools to highlight or draw attention to specific parts of the screenshot.
- Add Text: Annotate with text to provide context or explanations.
Organize Your Screenshots
- Create Folders: Save screenshots in organized folders with descriptive names.
- Date and Label: Use dates and labels to make it easier to find specific screenshots later.
Troubleshooting Common Issues
Screenshot Not Capturing
- Check Key Functionality: Ensure the PrtScn key is functioning correctly.
- Update Drivers: Sometimes, updating your keyboard or display drivers can resolve issues.
Screenshot Not Saving
- Clipboard Issues: Ensure the screenshot is being copied to the clipboard. Use an image editor to verify.
- Storage Space: Make sure there is sufficient storage space on your computer to save screenshots.
Conclusion
Knowing how to take a screenshot on a Dell laptop or desktop computer is a fundamental skill that can greatly enhance your productivity and communication. Whether using built-in Windows tools or third-party applications, the methods outlined in this guide are designed to help you capture your screen effortlessly and efficiently. Practice these techniques, and soon taking screenshots will become second nature.